As a self-confessed coffee junkie, this week's Tuesday With Dorie recipe for Coffee Break Muffins is right up my alley. Rhiani of Chocoholic Anonymous is our hostess this week, and you can find the complete recipe on her blog.
I've been needing this additional boost of caffeine. Insomnia + catching up on DVR backlog = not a lot of sleep.

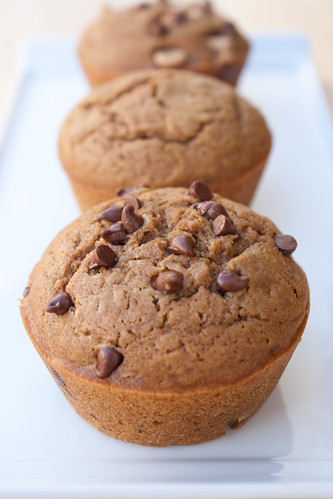
Dorie goes bold with the coffee in this recipe. Strong brewed coffee plus a healthy amount of instant espresso gives these muffins its pep.
I thought these muffins needed a little something else, so I topped half of the muffins with a sprinkling of mini chocolate chips.
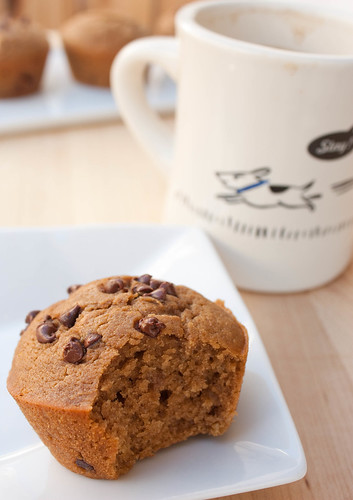
These muffins were super yummy! I actually enjoyed the plain muffins over the chocolate chip topped version. The coffee flavor is not shy, but it doesn't overwhelm. I particularly loved the texture of these muffins - a nice tight crumb, but not overly dense.
These babies will definitely make a repeat appearance at my breakfast table.